
Uncategorized
Laminar Flow Hoods for Mushroom Cultivation
Oct
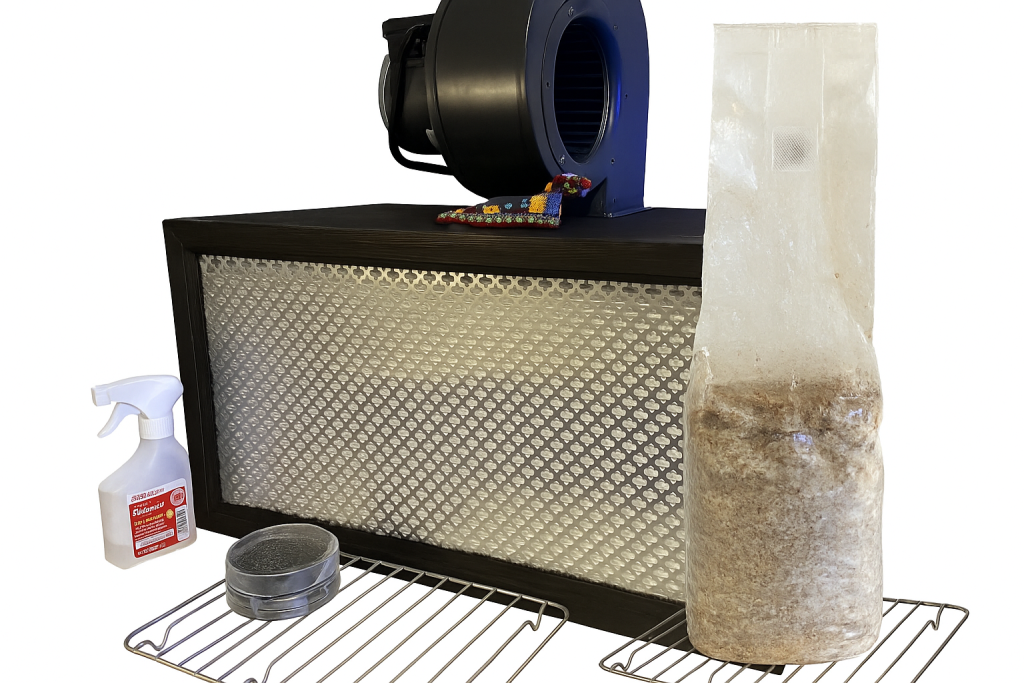
If you’ve ever googled laminar flow hoods for mushroom cultivation, you’ve probably heard about the importance of sterile technique. Maintaining a clean, contamination-free environment is one of the biggest challenges in growing mushrooms successfully. Among the various tools designed to ensure sterility, the Laminar Flow Hood stands out as an indispensable piece of equipment.
In this guide, we’ll explore what a Laminar Flow Hood is, how it’s used specifically in mushroom cultivation, and provide a detailed explanation of how to build your own laminar flow hood at home or in a small lab setting. Whether you call it a Mushroom Flow Hood or simply a Flow Hood for mushrooms, understanding this equipment can significantly improve the quality and success rate of your cultivation projects.
What is a Laminar Flow Hood?
A Laminar Flow Hood, often referred to as a clean bench or mushroom flow hood in mycology circles, is a device designed to create a sterile work environment by pushing air through a HEPA (High-Efficiency Particulate Air) filter. This generates a steady, uniform flow of clean air that removes dust particles, mold spores, and bacteria from the workspace, keeping your cultures and substrates safe from contamination.
How It Works
At its core, a laminar flow hood consists of two main components:
- A fan or blower that pulls air in.
- A HEPA filter, which purifies the air by trapping 99.97% of particles as small as 0.3 microns.
Once filtered, the clean air flows smoothly and uniformly across the work surface, usually in a single direction (horizontal or vertical) — hence the term laminar flow. The result is an invisible curtain of sterile air that allows you to handle sensitive materials such as agar plates, culture media, or spore syringes without contamination.
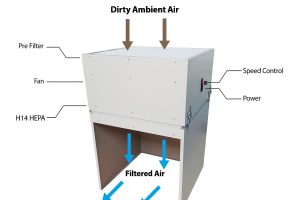
Horizontal vs. Vertical Flow Hoods
- Horizontal Laminar Flow Hood: The HEPA filter is mounted at the back of the unit, and air flows horizontally toward the user. This type is commonly used in mushroom cultivation because it allows for easy workspace access and keeps contaminants from falling onto your samples.
- Vertical Laminar Flow Hood: The HEPA filter is mounted on top, and air is pushed downward onto the work surface. These are more common in laboratories where protection from hazardous materials is needed.
For most mushroom growers, a horizontal flow hood is the preferred choice because it provides a clean, consistent air curtain and plenty of workspace visibility.
Laminar Flow Hoods in Mushroom Cultivation
In mushroom cultivation, sterility is key. Spores and mycelium are highly susceptible to contamination from bacteria and mold. A flow hood for mushrooms provides the sterile environment necessary to perform procedures like:
- Inoculating agar plates with spores or tissue cultures
- Transferring mycelium between jars or plates
- Preparing grain spawn and liquid cultures
- Making spore syringes or liquid culture syringes
Without a laminar flow hood, cultivators often rely on still air boxes (simple enclosures that block drafts). While this can work for small projects, it’s not ideal for consistent, large-scale operations. A laminar flow hood offers a much higher degree of precision and cleanliness, making it the gold standard in sterile technique for mushroom cultivation.
Benefits of Using a Laminar Flow Hood for Mushrooms
- Significantly reduces contamination during transfers and inoculations.
- Allows faster workflow because you don’t have to wait for air to settle like in still air boxes.
- Provides a professional-grade workspace for cultivation or mycology research.
- Enhances success rates when working with agar, spawn, or spore cultures.
For anyone serious about mushroom growing — from hobbyists to small-scale commercial cultivators — investing time and effort into a laminar flow hood can pay off tremendously.
How to Build a Laminar Flow Hood
While commercial units can be purchased, they often come with a hefty price tag. Fortunately, building a DIY laminar flow hood is relatively straightforward with the right materials and a bit of careful planning. Below is a detailed step-by-step guide.
Materials You’ll Need
- HEPA Filter:
- Type: 99.97% efficient at 0.3 microns.
- Common Size: 24 x 12 inches or 24 x 24 inches.
- Make sure it’s a true HEPA rated for laminar flow applications.
- Blower or Fan:
- Should deliver enough static pressure and airflow (CFM) to match your HEPA filter’s requirements.
- Look for a fan that provides slightly more pressure than needed; you can always regulate airflow later.
- Pre-filter:
- Captures large dust particles before they reach the HEPA filter, extending its life.
- Housing Materials:
- Plywood, MDF, or durable plastic for the box.
- Screws, caulking, and weather stripping to seal edges.
- Electrical Components:
- Power switch, power cord, and possibly a speed controller for the blower.
- Tools:
- Saw, drill, measuring tape, sealant gun, screwdriver, and safety gear.
Step-by-Step Assembly
1. Design the Box
Create a box that will house both the blower and the HEPA filter. The box should be airtight to prevent unfiltered air from entering the workspace. The blower sits behind the filter, forcing air through it toward the working area.
2. Install the Pre-Filter
Mount a pre-filter on the intake side of the blower to catch large dust particles. This prolongs the life of your HEPA filter and ensures cleaner airflow.
3. Mount the Blower
Attach the blower securely inside the box. Ensure that it fits snugly and there are no gaps where unfiltered air could leak.
4. Attach the HEPA Filter
Seal the HEPA filter to the front of the box using weather stripping or silicone caulk. The filter should fit perfectly with no air leaks around the edges.
5. Wire the Electrical Components
Connect the blower to a switch and power source. If desired, add a speed controller to fine-tune airflow. Always follow basic electrical safety procedures.
6. Test for Leaks
Before using the hood, turn it on and test for leaks using incense smoke or fine dust. If you notice any air escaping around the edges, reseal until airtight.
7. Final Assembly and Finishing Touches
Once sealed, clean the hood’s interior thoroughly. Position it on a stable table or stand. When operating, allow it to run for at least 10-15 minutes before beginning sterile work to purge any residual unfiltered air.
Tips for Optimal Performance
- Regularly replace pre-filters and clean the outer surfaces.
- Operate the hood in a relatively clean room to prolong filter life.
- Avoid blocking the airflow near the filter face — keep equipment about 6 inches back.
- Do all sterile operations directly in front of the HEPA filter stream.
In the end
A Laminar Flow Hood — or Mushroom Flow Hood as it’s often called — is one of the most valuable tools in any serious mycologist’s workspace. It not only dramatically reduces contamination risks but also makes working with cultures and substrates more efficient and enjoyable.
Whether you decide to buy a pre-built model or construct your own DIY version, understanding how laminar flow hoods work and how to maintain them properly will elevate your mushroom cultivation practice to a professional level.
By investing in a clean, sterile work environment today, you’ll set yourself up for consistent, high-quality harvests tomorrow — and perhaps even discover a newfound appreciation for the science behind mushroom growing.
